
Want to know how to make cheese? It’s way easier than you would think, and you literally need 3 ingredients: non-homogenized milk, vinegar and salt.
Because of pregnancy, we chose to use lightly pasteurized, non-homogenized milk at the guidance of Mandy’s midwife. Raw milk would be ideal, but that will have to wait until post baby.
If you have been searching for an easy to follow recipe on how to make cheese, you have arrived.
The following will give you the supply list and instructions on how to make cheese, along with some wisdom we learned along the way.
We love projects like this because it teaches us ways to save money on things that are typically very expensive (like fresh cheese), it teaches us skills of days gone by, and we love to teach our kids how to be self sufficient and savvy with their resources.
Enjoy this recipe!
How to Make Cheese Supply List:
1 Gallon of Non-Homogenized Milk (can be pasteurized or not)
1T Salt (Table Salt, Himalayan Pink Salt, or whatever flavoring salt you like is fine)
1/3c Vinegar (White Vinegar or Apple Cider Vinegar will work)
Heavy Bottomed Pot for Stove
Another Pot to Hold Whey
Wooden Spoon
Colander or Strainer
Silicone Spatula
Metal Spoon
Cheesecloth or Flour Sack Towel
Thermometer
Timer
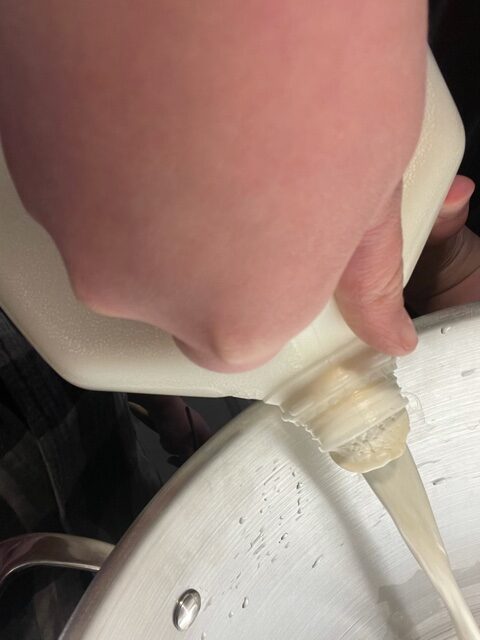
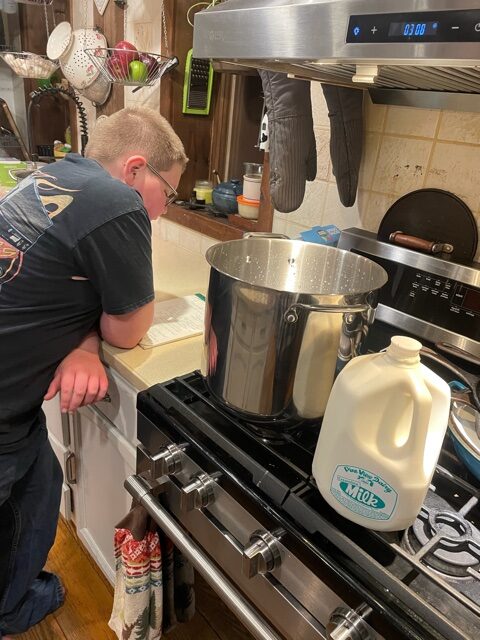
Step 1: Pour in 1 Gallon of Milk
Pour room temp non-homogenized (can be pasteurized or not) milk into a heavy bottom pot that isn’t prone to burning.
You don’t really need to shake the jug, as you will be mixing it all up in these steps to combine the cream and milk. (You can see all that beautiful cream in the picture!)
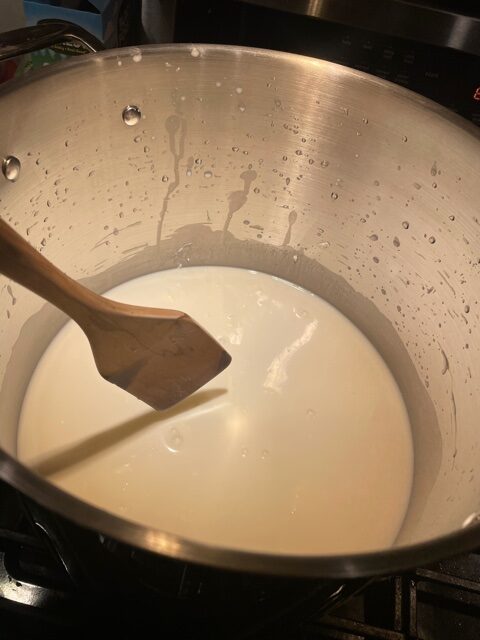
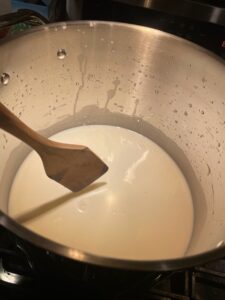
We have a propane stove that gets hot fast, so we turned our burner to about medium low to start. You should stir the entire time. If you leave the milk sit, it may scorch.
Depending on your stove, this step will probably take 15-30 mins. We prefer to use a wooden spoon for stirring our 1 gallon of milk in the pot.
It can be helpful to have two people when you make this, as someone can gather materials while the other stirs. Plus, it’s a great way to get your kids involved!
Step 2: Bring Milk to Just Under a Boil
You will want to have a thermometer handy to keep an eye on the temperature of your milk. This will be forgiving, but you do not want to reach a boil. Shoot for between 195 and 200 degrees. You will probably get some foam, but it will be fine. Just keep stirring. Once you hit the desired temperature, add 1/3 cup of vinegar, stir till just combined, turn off the burner and move your pot to a cold burner to sit for 10 minutes.
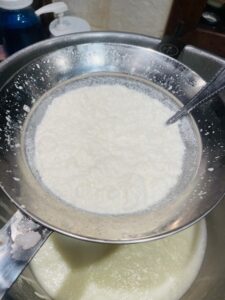
Step 3: Strain
You will want to strain well. You are essentially separating the curds from the whey. The curds are the chunky white pieces that stay in the strainer or colander, and the whey is the yellowish colored liquid that falls into the second pot. We used a metal spoon to really push the curds into the strainer, but this process will be somewhat dependent on your strainer or cloth. Your wooden spoon may be enough. Add 1T of salt. Mix it in well. Try to break up the curds as best you can.
Let the curds drain for 10 minutes to get as much whey to drip out as possible.
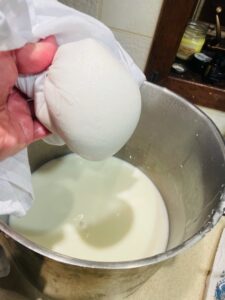
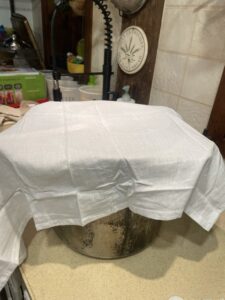
Step 4: Squeeze
Whether you use cheesecloth or flour sack towel, you will now want to twist the towel up tight. We did our straining directly in the strainer, so we just dumped the curds into the towel, then twisted it up. The curds are probably still hot, so be careful. Squeeze as much more whey out as you can. You can then wrap the extra towel around the ball and push the extra whey into the extra towel. This can be done on the counter using as much power as you can push.
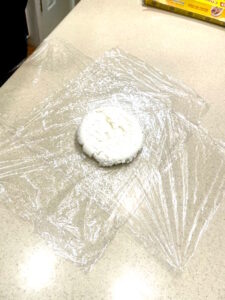
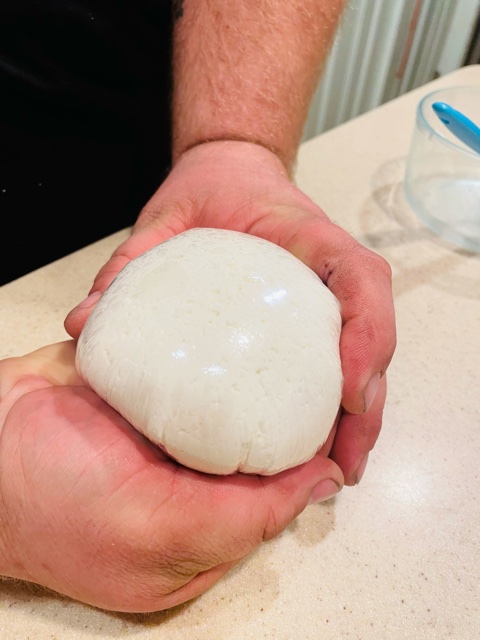
Step 5: Wrap and Fridge
Once you’ve squeezed as much whey out as you possibly can, it’s time to turn the cheese onto some plastic wrap. It will still look like a bunch of little curds smushed together – because it is.
At this point, wrap the cheese up in the plastic wrap, sit the cheese ball into a bowl and fridge at least overnight.
Now you know how to make cheese from just 1 gallon of milk!
We love this as a homeschool project. If you know us, you know we unschool. We love to teach our kids lessons by doing. What a cool skill to teach your kids – how to make cheese with simply a gallon of milk and some basic supplies.
As part of this homeschool lesson, we researched the difference between homogenized and pasteurized milk. This was the perfect tie in, as we would not get great cheese from run of the mill store bought milk.
We love milk from Pine View Dairy, which is in southwestern Lancaster County. They offer Creamline milk, which is pasteurized but not homogenized. It’s the perfect balance if you aren’t too sure about using raw milk.
We hope you enjoy making this with your family and your kids. It’s delicious. We fridged it overnight, and the next day we ate some fresh and used some on grilled cheese. It is DIVINE in grilled cheese!
If you have more than you will use before it goes bad, you can freeze it. Wrap it well in a few layers of plastic wrap before freezing. Be sure to label and date it.
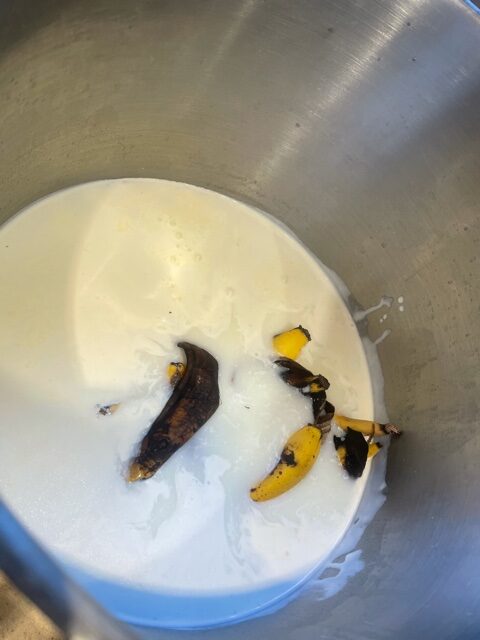
Don’t waste your whey!
Use your whey in your compost pile, stir it into stews and soups, add to smoothies, soak beans or use in your recipes in place of water. It is full of nutrients!
You will see to the right that we dumped our banana peels, used apple cider vinegar that Zad rinsed his beard with and the whey from cheese into the same pot to easily dump into our compost bin.
Looking for more inexpensive homeschool projects? Or maybe just looking for ways to save money? Check out How to Make Laundry Soap: 5 Gallons for $2!
We love to talk about ways to save so that you have more money for other projects. If you have some awesome ideas that would make great blog posts, we would love to chat with you!
Email us at chapelhillforge@gmail.com. Follow us on Facebook and Instagram to keep up with what we are digging into!
Advertising Disclosure: Bargaineering may be compensated in exchange for featured placement of certain sponsored products and services, or your clicking on links posted on this website.